Deciding to have a septic tank installed at your Chappaqua, NY, property can seem like a confusing process at first. If you’re preparing for a new septic tank installation, you may be wondering what’s involved and what steps you’ll need to take to prepare. Read our guide to help take the mystery out of septic tank installation.
Preparing the Property
The first step in a septic tank installation is to have a site survey and soil test done. A site survey will help determine how much available space you have, geographical features of the site, as well as the location of nearby wells. Soil tests are done to establish what kind of soil you have and how well it will absorb fluid. These factors will help decide which type of septic tank is best for your property.
Related: The Importance of Effluent Filters in Septic System Installation
The site will have to be accessible by large, heavy equipment, so it’s important to properly clear the area. Obstructions such as overhead wires, tree branches, and even structures will have to be accounted for and possibly removed to ensure delivery and installation are possible.
This is also the time to apply for any necessary permits or approvals to ensure the project is compliant and meets all applicable codes. You should also contact utility companies to verify the location of phone, gas, electric, and water lines. Damaging utilities can result in service interruptions and very costly repairs.
Excavation
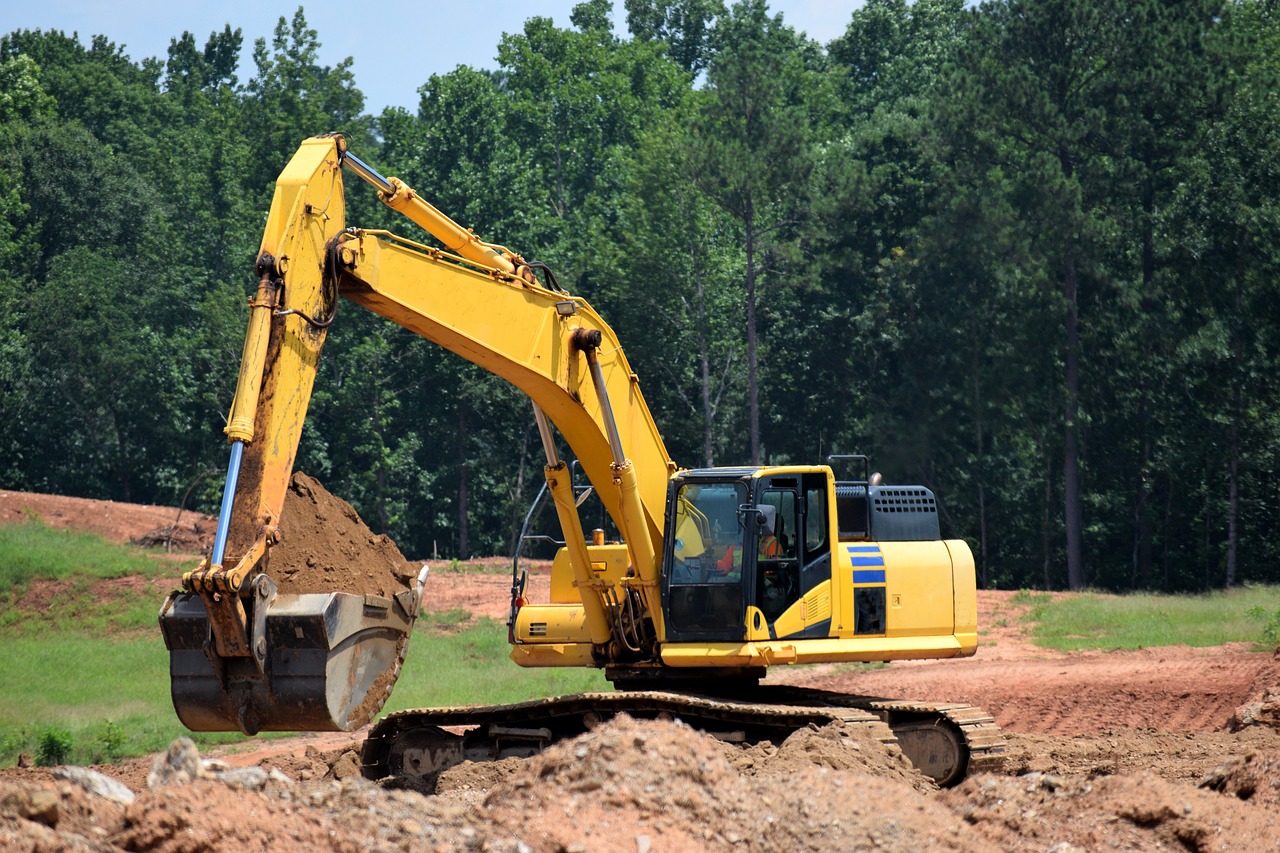
Once all permits are in place, excavation can begin. Excavation involves large tractors and heavy machinery on your property, which can be temporarily disruptive. But when the site is properly prepared, this stage should require little involvement from the homeowner.
Septic tank installation requires a hole with enough clearance for the tank and any necessary work around it. Correct grading and sloping of the site will also happen during excavation. Excavation often produces a large amount of rocks and dirt that will need to be removed from the site. You should have a plan in place for the disposal of excess materials.
Related: Septic Tank Repair: How to Know If Your Septic Tank Needs Emptying in Armonk, NY
Installation
After excavation is complete, it’s time to install the septic tank. Common types of septic tanks are reinforced concrete and plastic or fiberglass. While the hole will be the same for either type of tank, it’s important to use the right bedding material to minimize settling.
After the septic tank is in place, it will be carefully inspected for cracks or damages. The tank will also require sealing to ensure it is watertight. Once the tank is in place, pipes are run from the tank to the house and the drain field.
Before backfilling around the tank, the tank will be filled with water and any water loss will be measured. It should not lose more than an inch of water over a 24-hour period. Once the tank is proven to be watertight, it should be insulated to avoid freezing.
Backfilling
Now that the tank is full and ready to operate, the hole around the tank can be filled. At least 6 inches of soil should be added over the tank.
Related: How to Landscape on and Around Your New Septic Tank in Tarrytown, NY
The location of septic tanks can get lost over the years, so it’s important to mark access points. Risers installed over both the inlet and outlet of the tank will provide access for future repairs and maintenance. It’s also a good idea to keep a map marking the location of the septic tank for future reference.


